- Our STEM projects are designed so that participants get it wrong before they get it right. You will observe your students struggling as they attempt to create their own STEM projects. This process is an empowering experience, building perseverance, frustration tolerance and growing overall confidence! With your support, students will step out of their comfort zones to think, build and problem-solve for themselves.
-
Productive Struggle Opportunities:
-Cutting
-Attaching with tape
-Precision
In this Rosie Labs guide you will find:
- Productive struggle opportunities for students during their project build,
- Lesson objectives and concept overview,
- Optional STEM topic video to share with participants,
- Step-by-step instructions and video of the Rosie Riveters’ Biomechanical Hands Project,
- Optional STEM activities to further explore the objectives and concepts used in the project build.
Objective
Students are introduced to biomechanics by exploring the relationship between how the muscles, tendons, and bones interact to make our body move.
Concept Overview and Experiment Inspiration
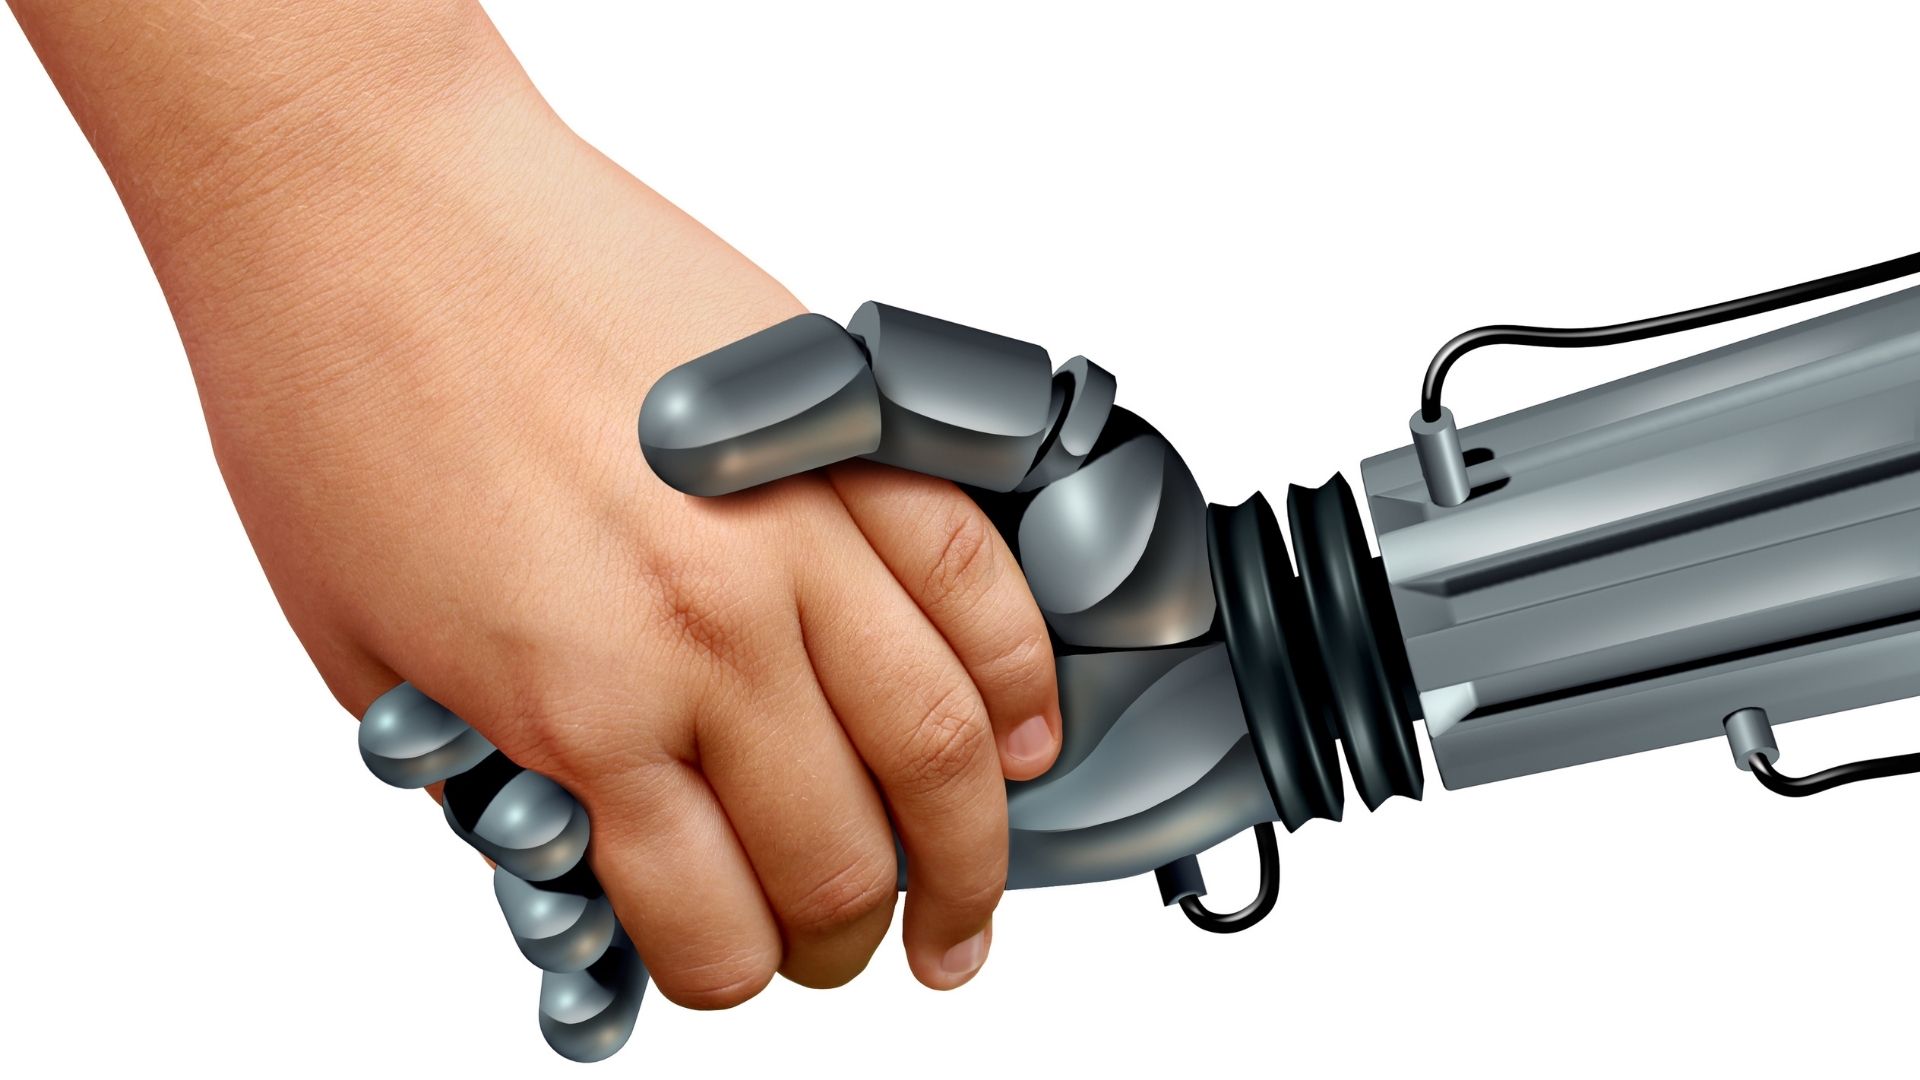
The field of study that investigates how our bodies and all living organisms work is called biomechanics. By studying biomechanics, scientists can use their knowledge of the body to tackle problems around us. We can better explore and test otherwise dangerous things such as car crash testing, manufacturing safety and even disaster relief by replicating the human body in the form of a robot. Robots provide the human-like skill and movement to perform tasks so that scientists get a better understanding of something before having actual humans participate.
A skeleton of a living organism includes all of the bones and joints in the body. Each bone is a complex living organ that is made up of many cells, protein fibers, and minerals. The skeleton acts as a scaffold by providing support and protection for the soft tissues that make up the rest of the body. The skeleton is also flexible with the help of joints, which is the place where two bones meet. The muscular system is responsible for the movement of the human body. Muscles pull on joints to assist with their flexibility and strength. Tendons attach muscles to the skeleton. Combined together this body system is called the musculoskeletal system.
The human hand is a complex, intricate, and fascinating combination of muscles, skin and bone. Its integrity is absolutely essential for our everyday functional living. In our hand alone there are twenty-seven bones that are connected by joints that can move and rotate!
In this project we are going to act like biomechanical engineers by examining the hand and how it moves!
Science Goals
- Biomechanics is a multidisciplinary study that applies science and technology to the mechanics of living things
- The human body has complicated systems that help make it function. The musculoskeletal system is a complex, intricate combination of muscles, skin and bone that are coordinated to make the body move.
Vocabulary
Biomechanics – the study of the movement and function of a living organism.
Musculoskeletal System – The internal framework of the body that gives the body shape and allows for movement
Watch The Video
https://www.youtube.com/watch?v=NXqNxHXMeqE
Required Materials
- cardboard
- straws
- tape
- string
- scissors
- marker
Step-By-Step Instructions
Step 1
Trace the outline of your hand onto the cardboard.
Step 2
Mark the placement of the bones and joints on each finger.
Step 3
Bend the cardboard off along the line of each joint.
Step 4
Cut three pieces of straw for each set of finger bones (phalanges; 15 total), two pieces for the thumb (phalanges), and five pieces for the bones in the hand (metacarpals). Be sure to make sure there is enough room for each of the bones (tubes) to bend without obstructing each other.
Step 5
Cut out your cardboard hand along the tracing lines using the scissors.
Step 6
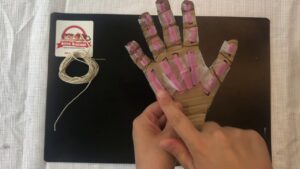
Attach the tubes to the cardboard along each finger, thumb, and the metacarpals using tape. Be sure to leave the bended joints “open”. Attach a piece of string to the top of each finger and thread it down through the corresponding phalanges and metacarpals and down past the wrists. Leave about 2 inches of twine to hang past the cardboard.
Step 7
When the hand is completed, it should be able to pick up a ball of tissue paper and “throw” it across the room!
Optional STEM Activities
Resource 1
Check out this Rosie Riveters’ video on Biomechanical Hands for a more in-depth look at this project!
Resource 2
Using washable markers you can have your students pair up. While one partner squeezes a ball the other partner can record what they see. Take a few moments to move the different parts of your body,and see if you can find all your joints – all the places where we can move. Now take your washable marker to indicate where you think the joints are on your hand. Which parts did they identify where they can move their hands? At the fingers and the wrist!
Resource 3
Biomechanical engineers solve problems using science, technology and math along with their knowledge of the mechanics of the human body. Imagine you are a biomechanical engineer. What are some things you can do to help humans? For inspiration, check out this video of a biomechanical engineer who is trying to help kids!
Resource 4
Invent your own robot!
Design a robot to help with an ordinary task around your home!