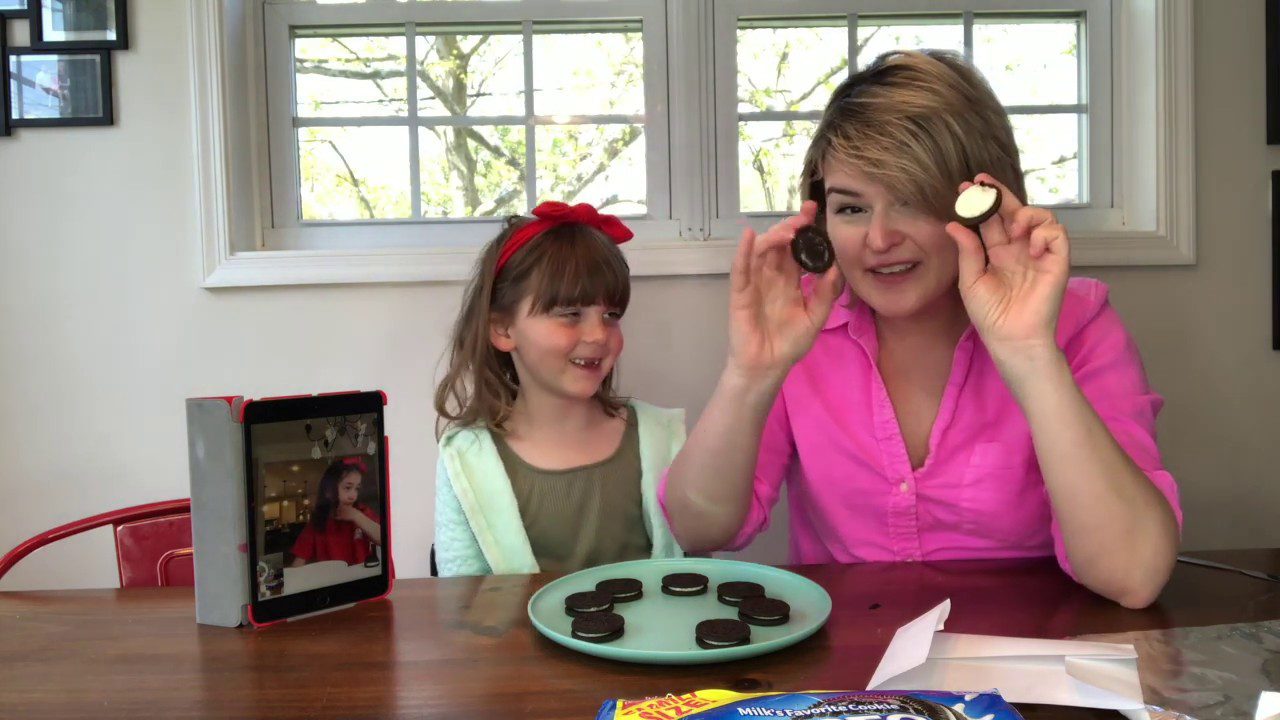
Explore the phases of the moon with Oreo cookies! Don’t have Oreos? Any sandwich cookie will do. And if you can’t get your hands on cookies, drawing the moon’s phases is awesome too (just a little less tasty, lol)!

When you’ve had your fill of moon cookies, take the lesson one step further and explore why we view the moon in phases by creating mini-moon models. These examine how the sun’s reflected light and the moon’s orbit change its appearance from the Earth!

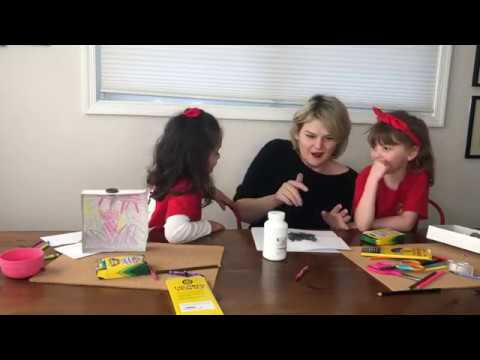
Ready to make this project at home or in your classroom? Watch the video for an overview, gather the materials listed at the right, and follow the instructions below! You’ll also need this printable: Diagram of the Moon’s Phases.

Required Materials

  • printable
  • 8 Oreo cookies
  • knife, popsicle stick, or other scraping tool
  • plate

Step-By-Step Instructions

Step 1

Use the Diagram of the phases of the moon printable to review the moon’s phases.

Step 2

Remove the tops from all eight of the Oreos and set aside.

Step 3

Return to the Diagram of the phases of the moon printable and use it as a guide as you scrape the cream off the Oreos to duplicate each of the moon’s phases. The cream corresponds to the white portion of the circle on the printable – the visible part of the moon during each phase. The cookie corresponds to the black portion – the invisible part of the moon during each phase. It also helps to arrange the cookies in a circle on the plate to mimic the circular arrangement of the moon’s phases on the printable.

Step 4

If you don’t have Oreos, or would rather do this project in written format, simply draw eight circles on a piece of paper in the same pattern as the printable. Use crayons, markers, pens, or pencils to color the moon’s phases.

Step 5

Want to keep learning? Use this Monthly moon chart printable to draw the phases of the moon from your own nightly observations over the course of a month!