• Our STEM projects are designed so that participants get it wrong before they get it right. You will observe your students struggling as they attempt to create their own STEM projects. This process is an empowering experience, building perseverance, frustration tolerance and growing overall confidence! With your support, students will step out of their comfort zones to think, build and problem-solve for themselves.
  • Productive Struggle
    - Following directions in the correct order of operations for the chemical reaction to occur
    - Using a pipette

In this Rosie Labs guide you will find:

  • Productive struggle opportunities for students during their project build,
  • Lesson objectives and concept overview,
  • Optional STEM topic video to share with participants,
  • Step-by-step instructions and video of the Rosie Riveters’ Lava Lamps Project,
  • Optional STEM activities to further explore the objectives and concepts used in the project build.


Objective

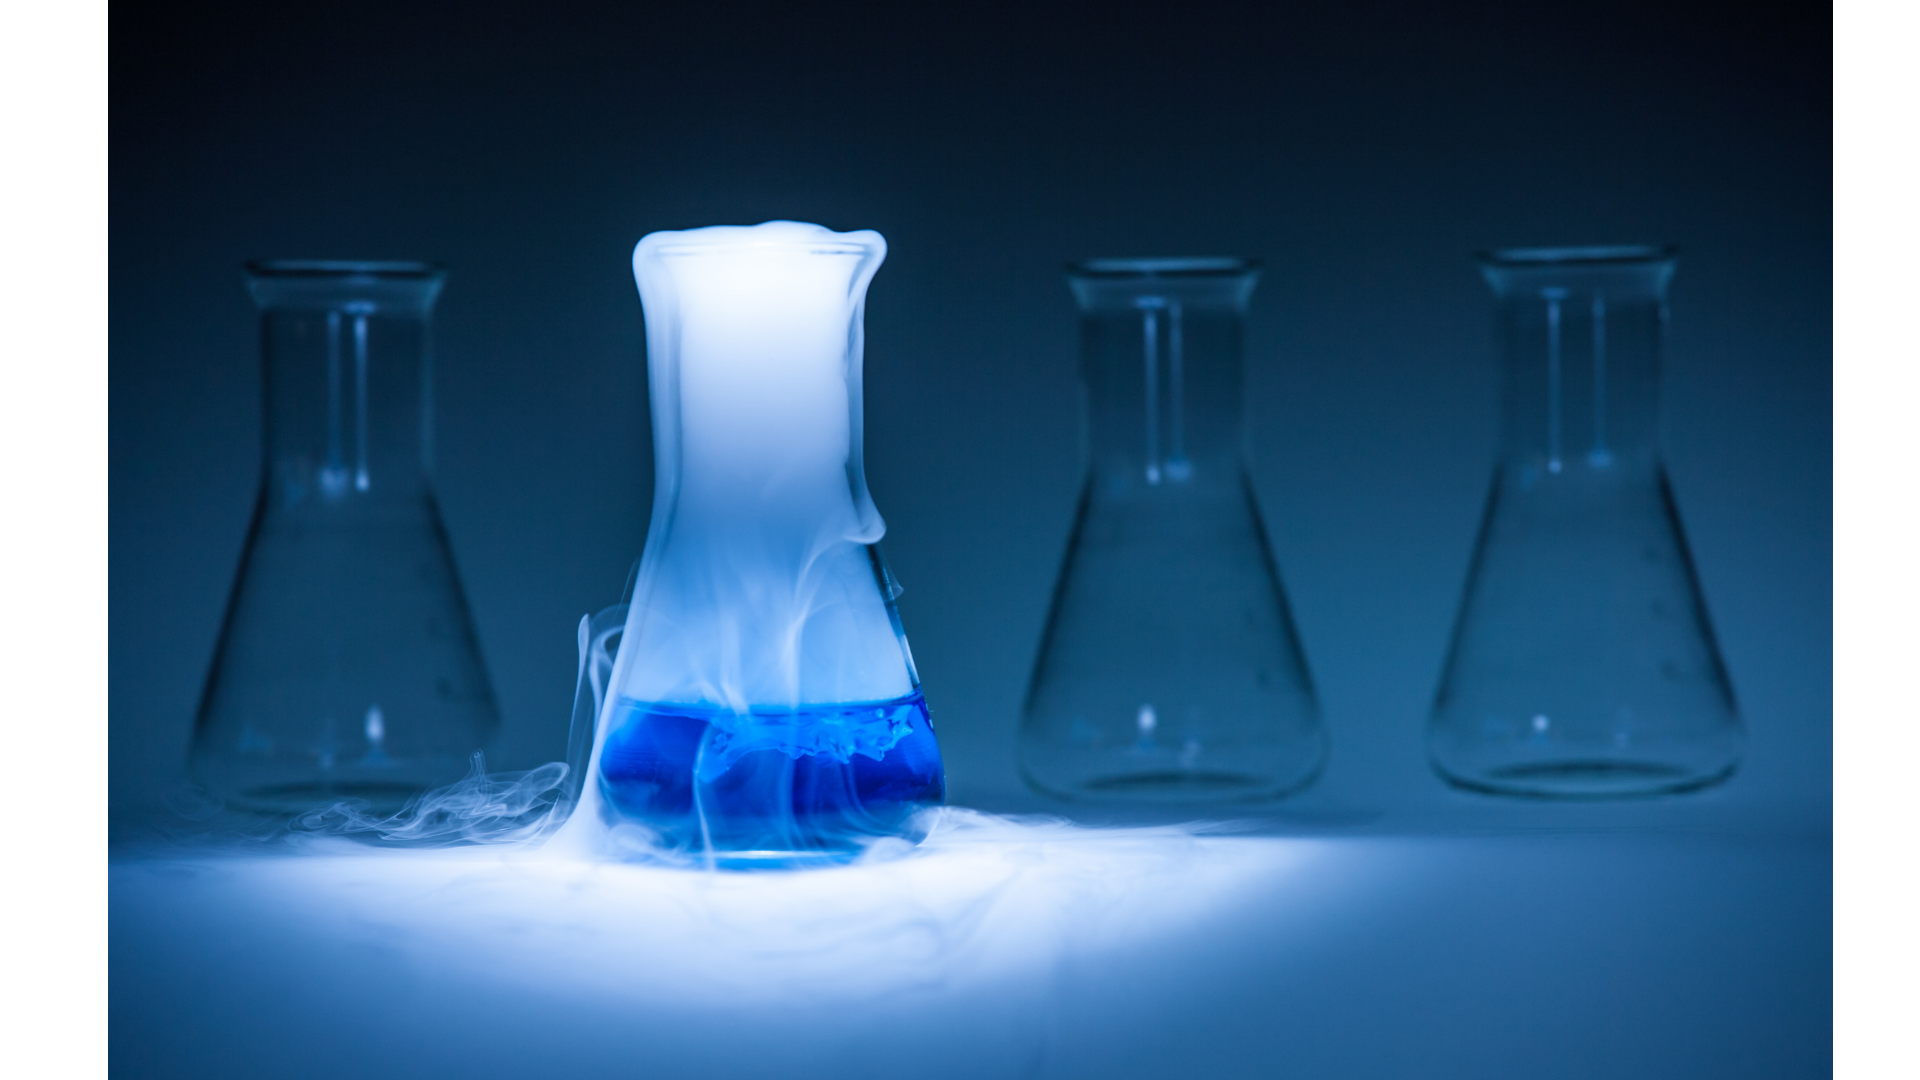
In this project you’ll mix baking soda and citric acid (reactants) to produce carbon dioxide C02 and water H20 (products ).

Concept Overview and Experiment Inspiration

Everything on earth that takes up space is called matter. Even you! Matter is made up of tiny particles called molecules. Molecules are super small, and we can’t see them, but trillions and trillions of them make up you, me and everything around us! And depending on how these teeny, tiny molecules are arranged (put together) in a given space, they form different types of matter.

Density is the amount of stuff (mass) in a given amount of space. The higher the density, the more stuff in the space!

When two or more atoms bond together to form molecules or when bonded atoms are broken apart a chemical reaction takes place. In its simplest terms a chemical reaction is when you mix two different things (reactants) together to make something new (product)!

There are seven different signs that indicate that a chemical reaction has taken place, including: Change in Color, Volume, Temperature, Smell/Taste Formation or production of light. The gas bubbles (C02) created in your lava lamp are the product of a chemical reaction between baking soda and citric acid (reactants).

In your lava lamp you’ll be exploring the densities of three different substances, or three different types of matter – oil, water, and carbon dioxide (C02).

Science Goals

  • Matter is all the “stuff” that exists in the universe. It has both mass and volume.
  • Mass is a measure of the amount of matter in an object. The higher the mass of an object in a given space, the higher it’s density.
  • Chemical reactions occur when molecules change their structure. The substances that go into a chemical reaction are called the reactants, and the substances produced at the end of the reaction are known as the products

Vocabulary

  • Chemistry – Chemistry is the study of the structure and properties of matter and what happens when different kinds of matter undergo changes
  • Matter – Anything in the physical world that occupies space and has mass
  • Mass – a measure of the amount of matter in an object
  • Density -Density is the measurement of how tightly a material is packed together with mass. It is defined as the mass per unit volume.
  • Chemical Reaction – a process that involves rearrangement of the molecular structure of a substance
  • Reactant -a substance that takes part in and undergoes change during a reaction
  • Product– Something new that is made as a result of a chemical reaction

Required Materials

  • Bottle with a Cap
  • baking soda and citric acid packet
  • baby oil (any skin safe oil will work)
  • pipette
  • small cup
  • water

Step-By-Step Instructions

Step 1

Fill the bottle 1/3 full with baby oil. 

Step 2

Fill the small cup with water and add two to three drops of food coloring to it.

Step 3

Fill the pipette with colored water. PAUSE: Do you think the colored water will sink to the bottom or float on top of the oil? 

Step 4

Drop the colored water from the pipette into the bottle. Observe. Does the water have a higher or lower density than the oil?

Step 5

Pour the remaining colored water into the bottle leaving about an inch of the bottle unfilled.

Step 6

Empty the contents of the baking soda & citric acid packet into the bottle. Watch the “lava” flow! What is happening here?

Note: DO NOT cap the bottles until the chemical reaction has completed (no more bubbles). If the bottles are capped too early they run the risk of creating a projectile from the built up gas. 

Optional STEM Activities

Resource 1

To make a CHEMICAL change we have to create a chemical reaction. A chemical reaction is when you mix two different things together and they react (or interact) to make something new!  Show your students this video or try this yourself. Give them an opportunity to “make something new” with their hands! 

Resource 2

Chemical reactions occur all around us in our everyday lives. Ask students about everyday examples of chemical reactions that they see. For example, what do you need to make cookies? What are the reactants? (Ingredients like Flour, Sugar, Eggs) What is the product? (cookies!) 

Another example, who has ever made slime? 

What are the reactants?  (Contact Solution, Borax, Glue, Baking Soda, Food Coloring) What is the product? (Slime! 

Resource 3

Try another chemical reaction experiment. You’ll need a scientific flask and a balloon. You can use various reactants including:

  • An anti-acid tablet like Alka-Seltzer and vinegar or water
  • A packet of Picot (Sodium Bicarbonate and Citric Acid) and vinegar or water 
  • Baking soda and vinegar


  1. Fill the flask with an inch or two of water or vinegar.
  2. Fill the balloon with your powdered reactant. You can do this by making a paper-funnel out of paper or creating a small opening in the packet.
  3. Pour all of the contents into the balloon then gently set a side so nothing spills out.
  4. Stretch ONLY the opening of the balloon over the top of the flask – don’t allow any of the powder to pour in! On the count of three, straight the balloon to tip the reactants from the balloon into the flask of water.
  5. Watch the balloon inflate with the CO2 that is released from the chemical reaction!


What happened? Give students an opportunity to come up with their own theories. Like in their previous experiment, molecules of the reactants rearranged themselves when they were all mixed together to form a product – CO2 – the gas that blew up the balloon.

Resource 4

Explore density a little further. Using pre-cut circles to represent molecules, or mass, have students fill in this density template to demonstrate the difference between high density objects and low density objects (hint: they should be filling the high density square with more circles!).