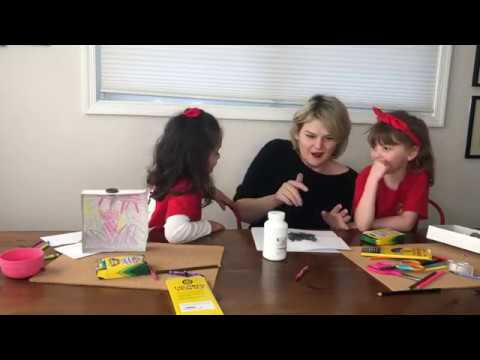
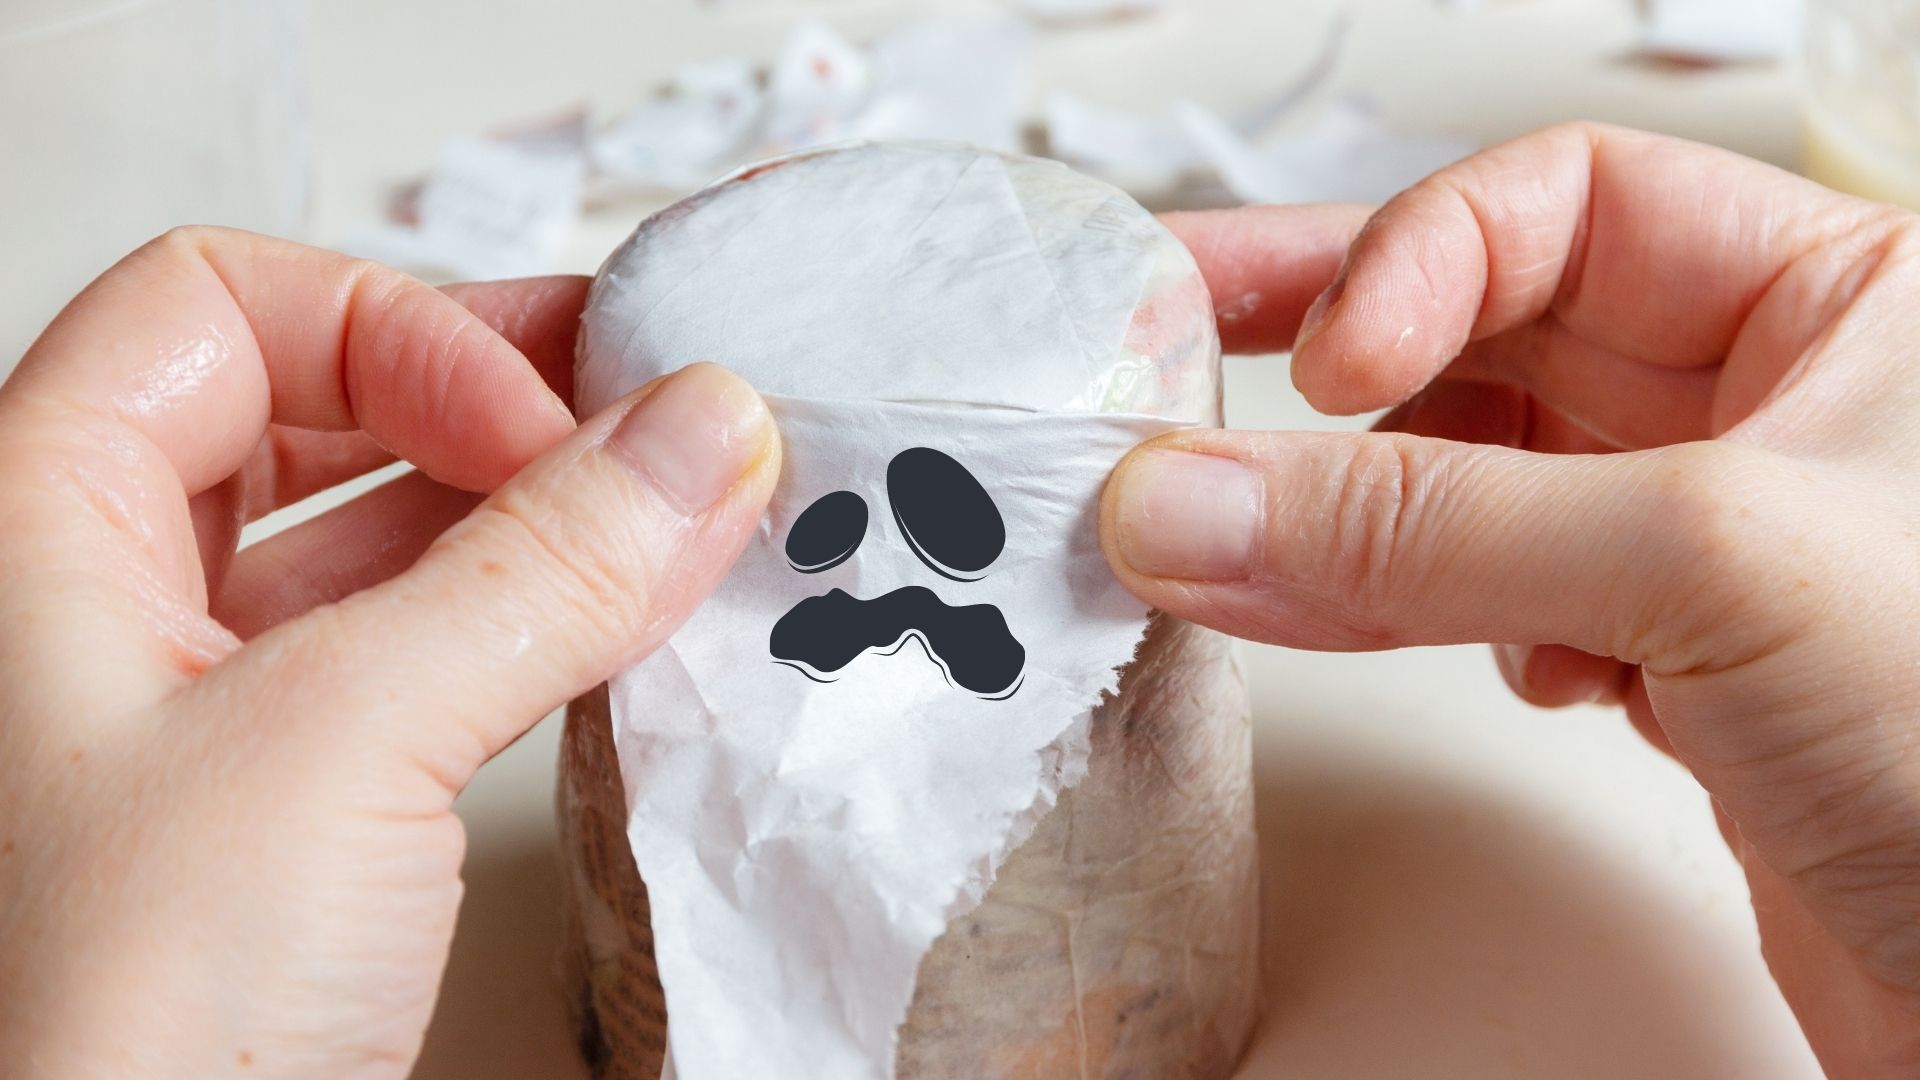
We made three – yes three! – awesome STEM-inspired Halloween decorations in this video! To make papier-mâché ghouls, where we transform paper into Halloween ghosts, view the video from 1:43-4:28.

Papier-mâché is French for “chewed-up paper” due to its appearance. It’s a construction material that consists of pieces of paper, sometimes reinforced with textiles, stuck together using a wet paste (e.g., glue, starch, or wallpaper adhesive). The crafted object becomes solid when the paste dries. Meaning that papier-mâché is an example to chemical change!

How does it work? Paper is composed of cellulose fibers, which are long chains of starches linked together. Flour is a starch too, just one long single polymer, or chain. When a solution of starches is added to the surface of cellulose fibers, they will ‘link’ the chains together, acting like natural glue.

Ready to make this project at home or in your classroom? Watch the video for an overview, gather the materials listed at the right, and follow the instructions below!

Required Materials

  • paper
  • scissors
  • ruler
  • 1 balloon
  • cup
  • bowl
  • 1/2 cup flour
  • 1/2 cup water
  • permanent marker
  • paint (optional)

Step-By-Step Instructions

Step 1

Cut six to eight strips of copy paper (standard letter size). The strips should be one inch wide (use the longer side of the paper as the length). Use two sheets to make 12 to 16 strips total, and set aside.

Step 2

Inflate a balloon just large enough to sit on top of the lip of your chosen cup. Tie off the balloon. This will create the form to shape your ghoul around.

Step 3

In a bowl, mix 1/2 cup of plain flour with 1/2 cup of water. Stir until a gluey-like paste is formed. Add additional water and/or flour as needed until the paste is spreadable. This is your paper-mâché paste!

Step 4

Coat each strip of paper with your paper-mâché paste. Be sure to squeeze off any excess paste by running the strip through your fingers. Apply the strips in a crissscross pattern over your balloon. Make sure that the ends of the strips hang past your balloon.

Step 5

Allow your creation to dry completely (usually 1-2 hours).

Step 6

Decorate your creation with a permanent marker or paint until you achieve your desired effect!