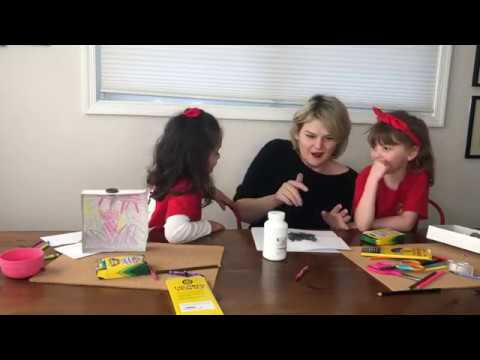
Join Rosie Girls Veronica and Grace as they get “charged up” to explore static electricity by creating their own static electric butterflies.

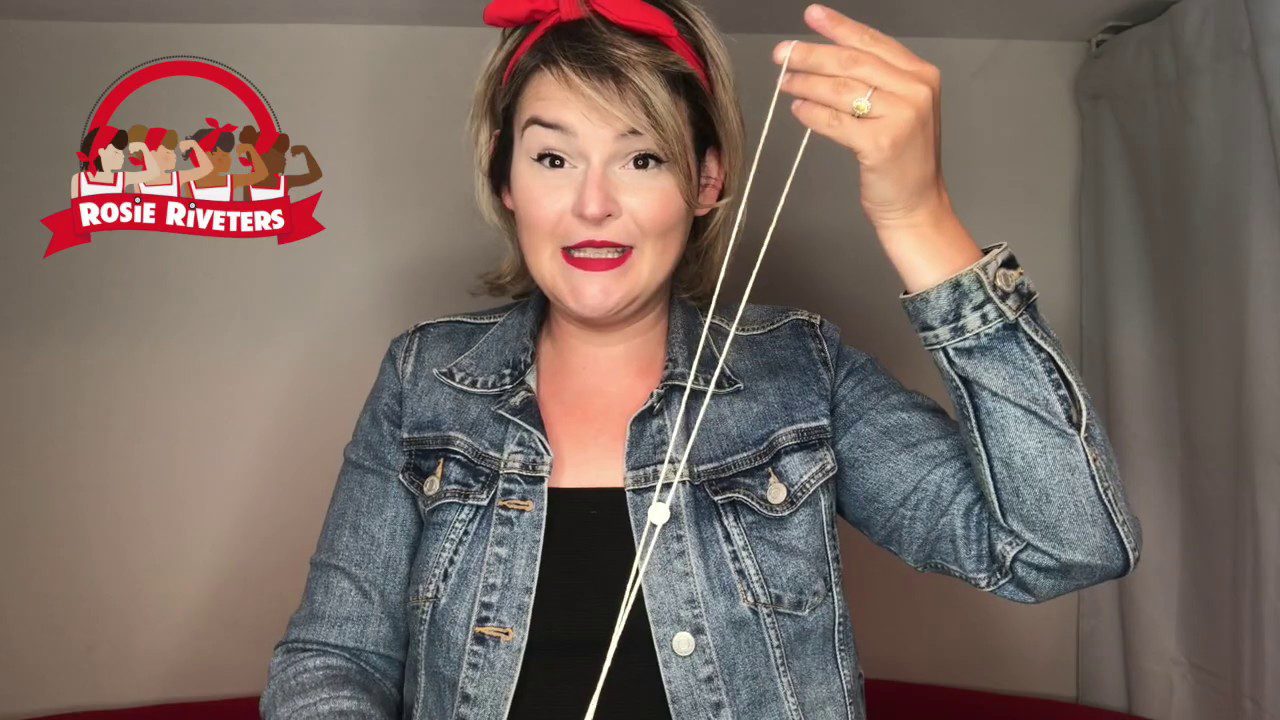
Check out Rosie Explores Static Electricity to learn more about the science of these fluttering butterfly wings.

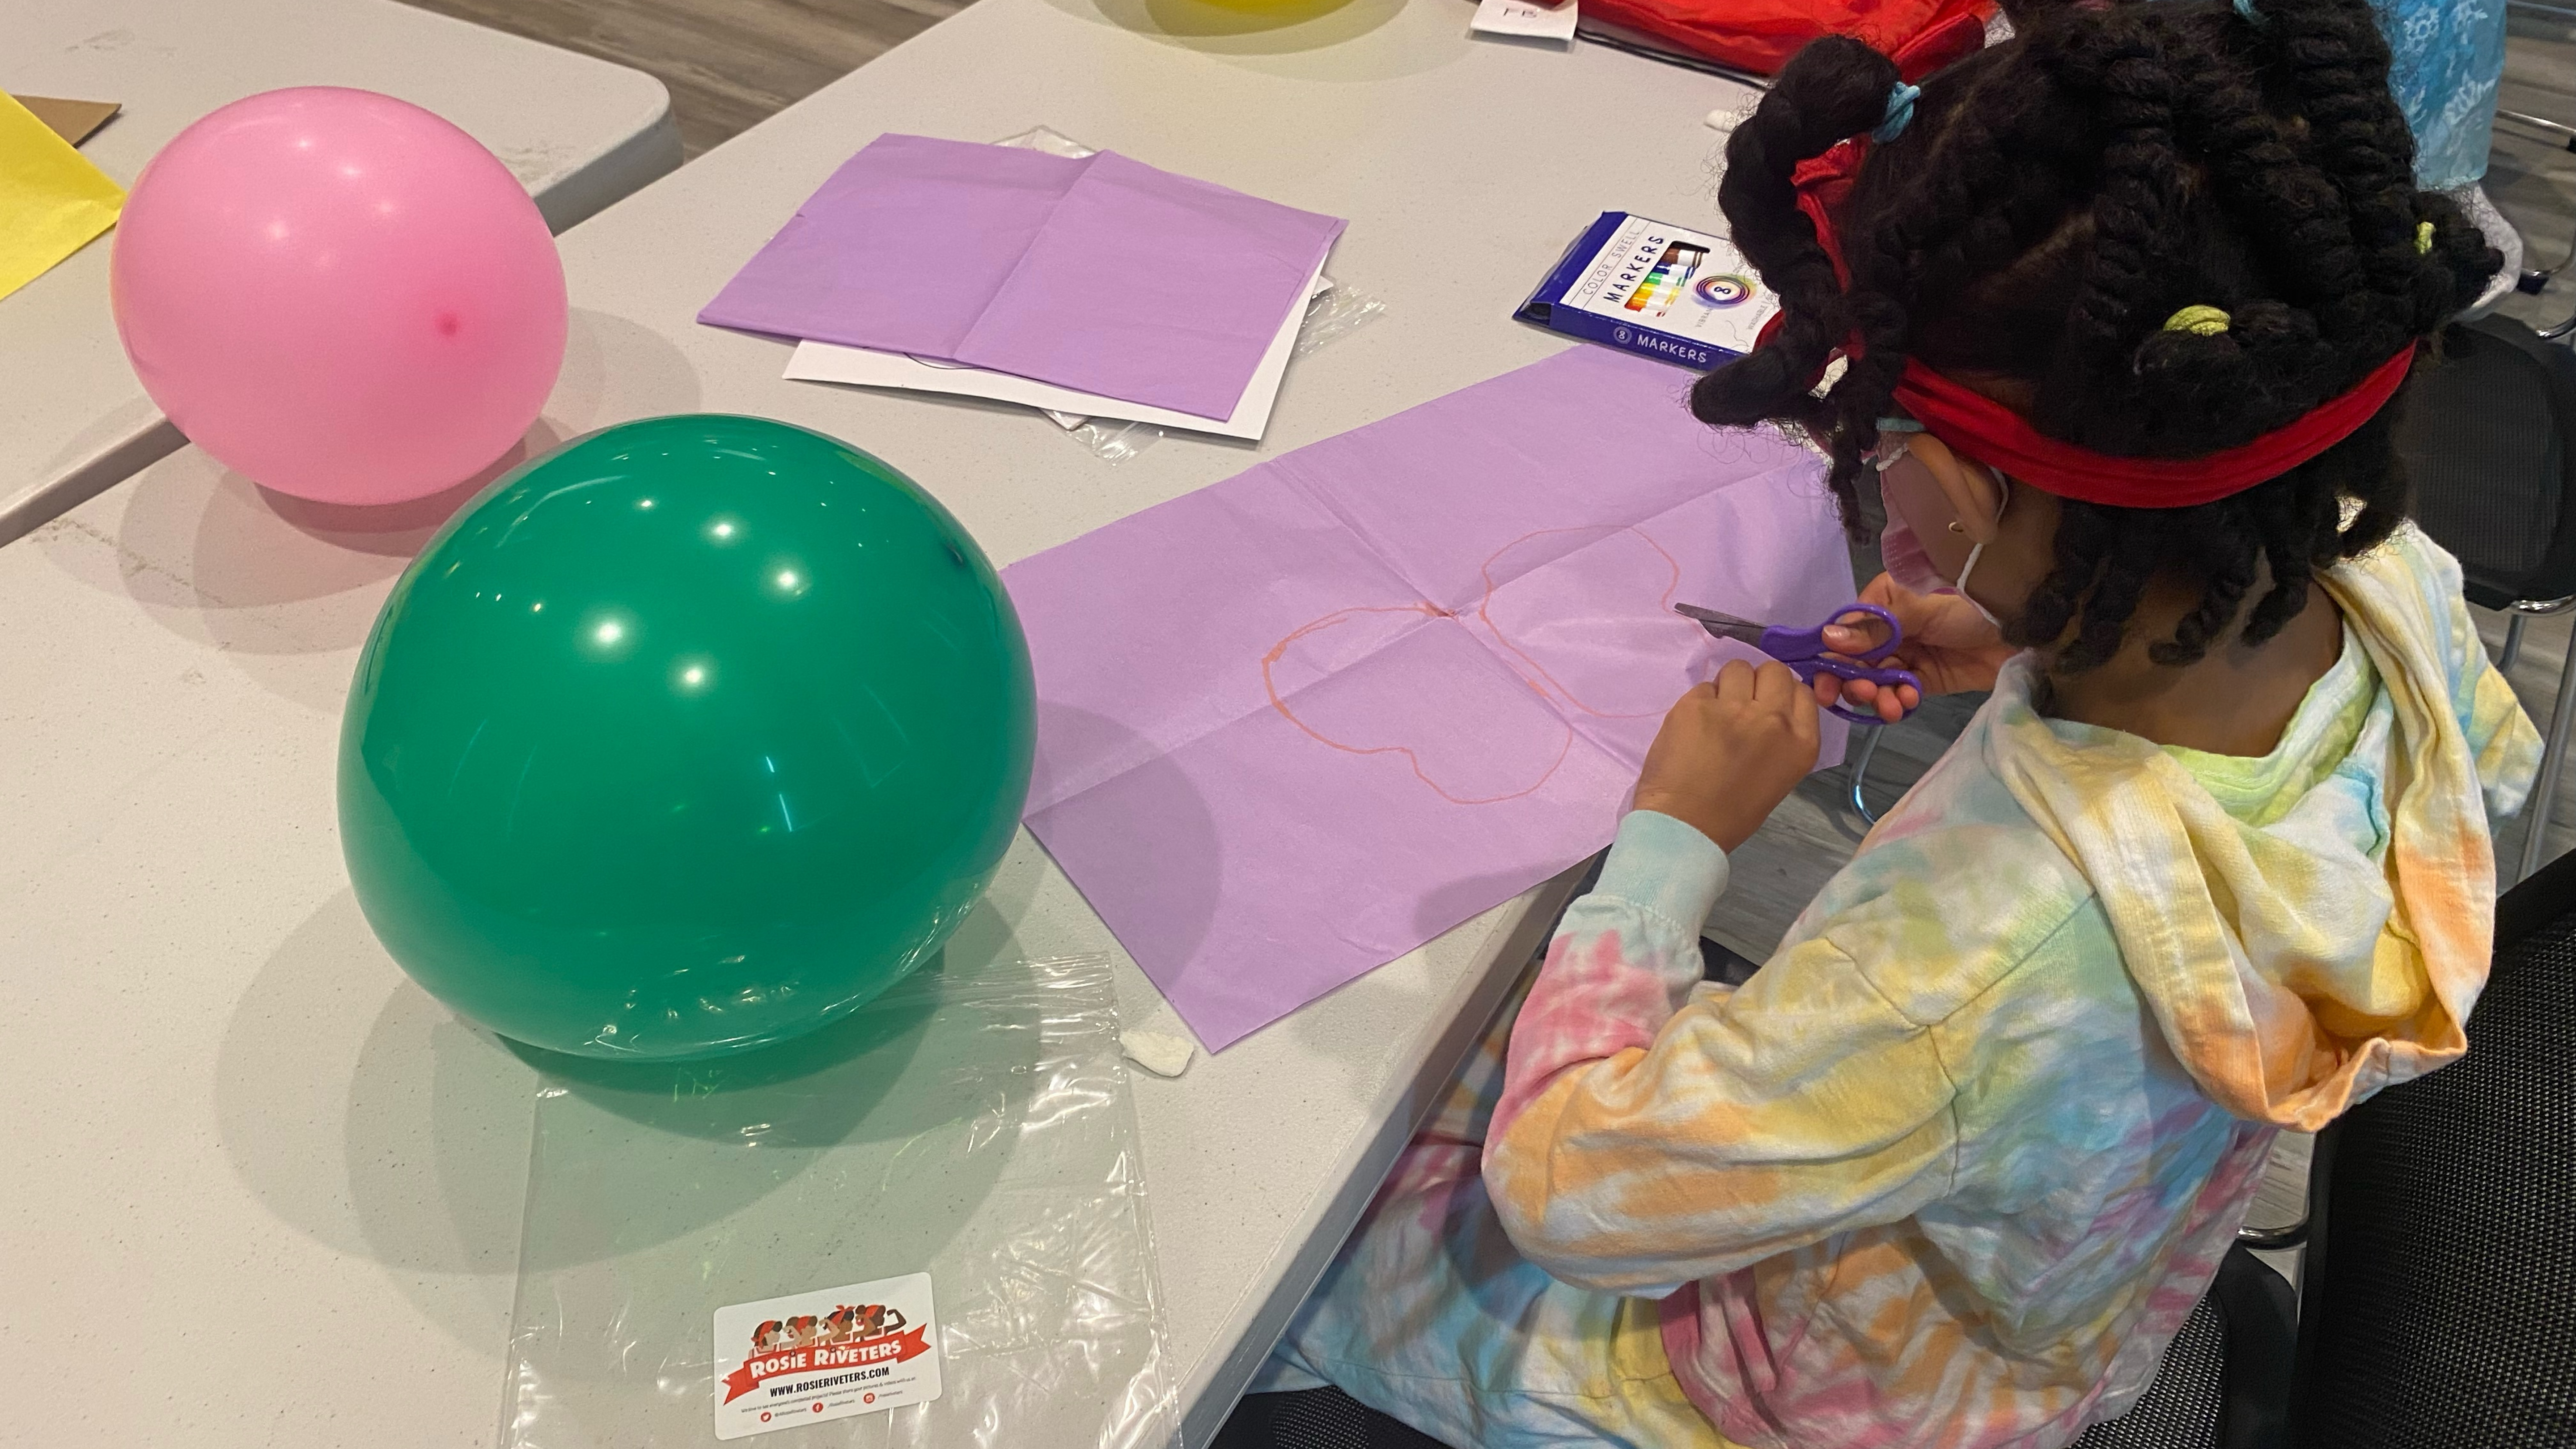
Ready to make this project at home or in your classroom? Watch the video for an overview, gather the materials listed to the right, and follow the instructions below!

Required Materials

  • cardboard
  • tissue paper
  • markers
  • scissors
  • balloon
  • piece of cloth

Step-By-Step Instructions

Step 1

Fold the tissue paper in half.

Step 2

Draw a backwards letter “B” along the fold of the paper.

Step 3

Cut the “B” shape out using scissors. Make sure you’re cutting two layers at once!

Step 4

Cut along the center of the fold to create two separate wings.

Step 5

Decorate your wings.

Step 6

Tape the edge of the wings to the cardboard. Remember to leave space for the body.

Step 7

Draw the butterfly’s body between the wings.

Step 8

Blow up a balloon.

Step 9

Rub the balloon along a cloth (wool works best) to build up a static charge!

Step 10

Use the “charged” balloon to make your butterfly’s wings flutter!