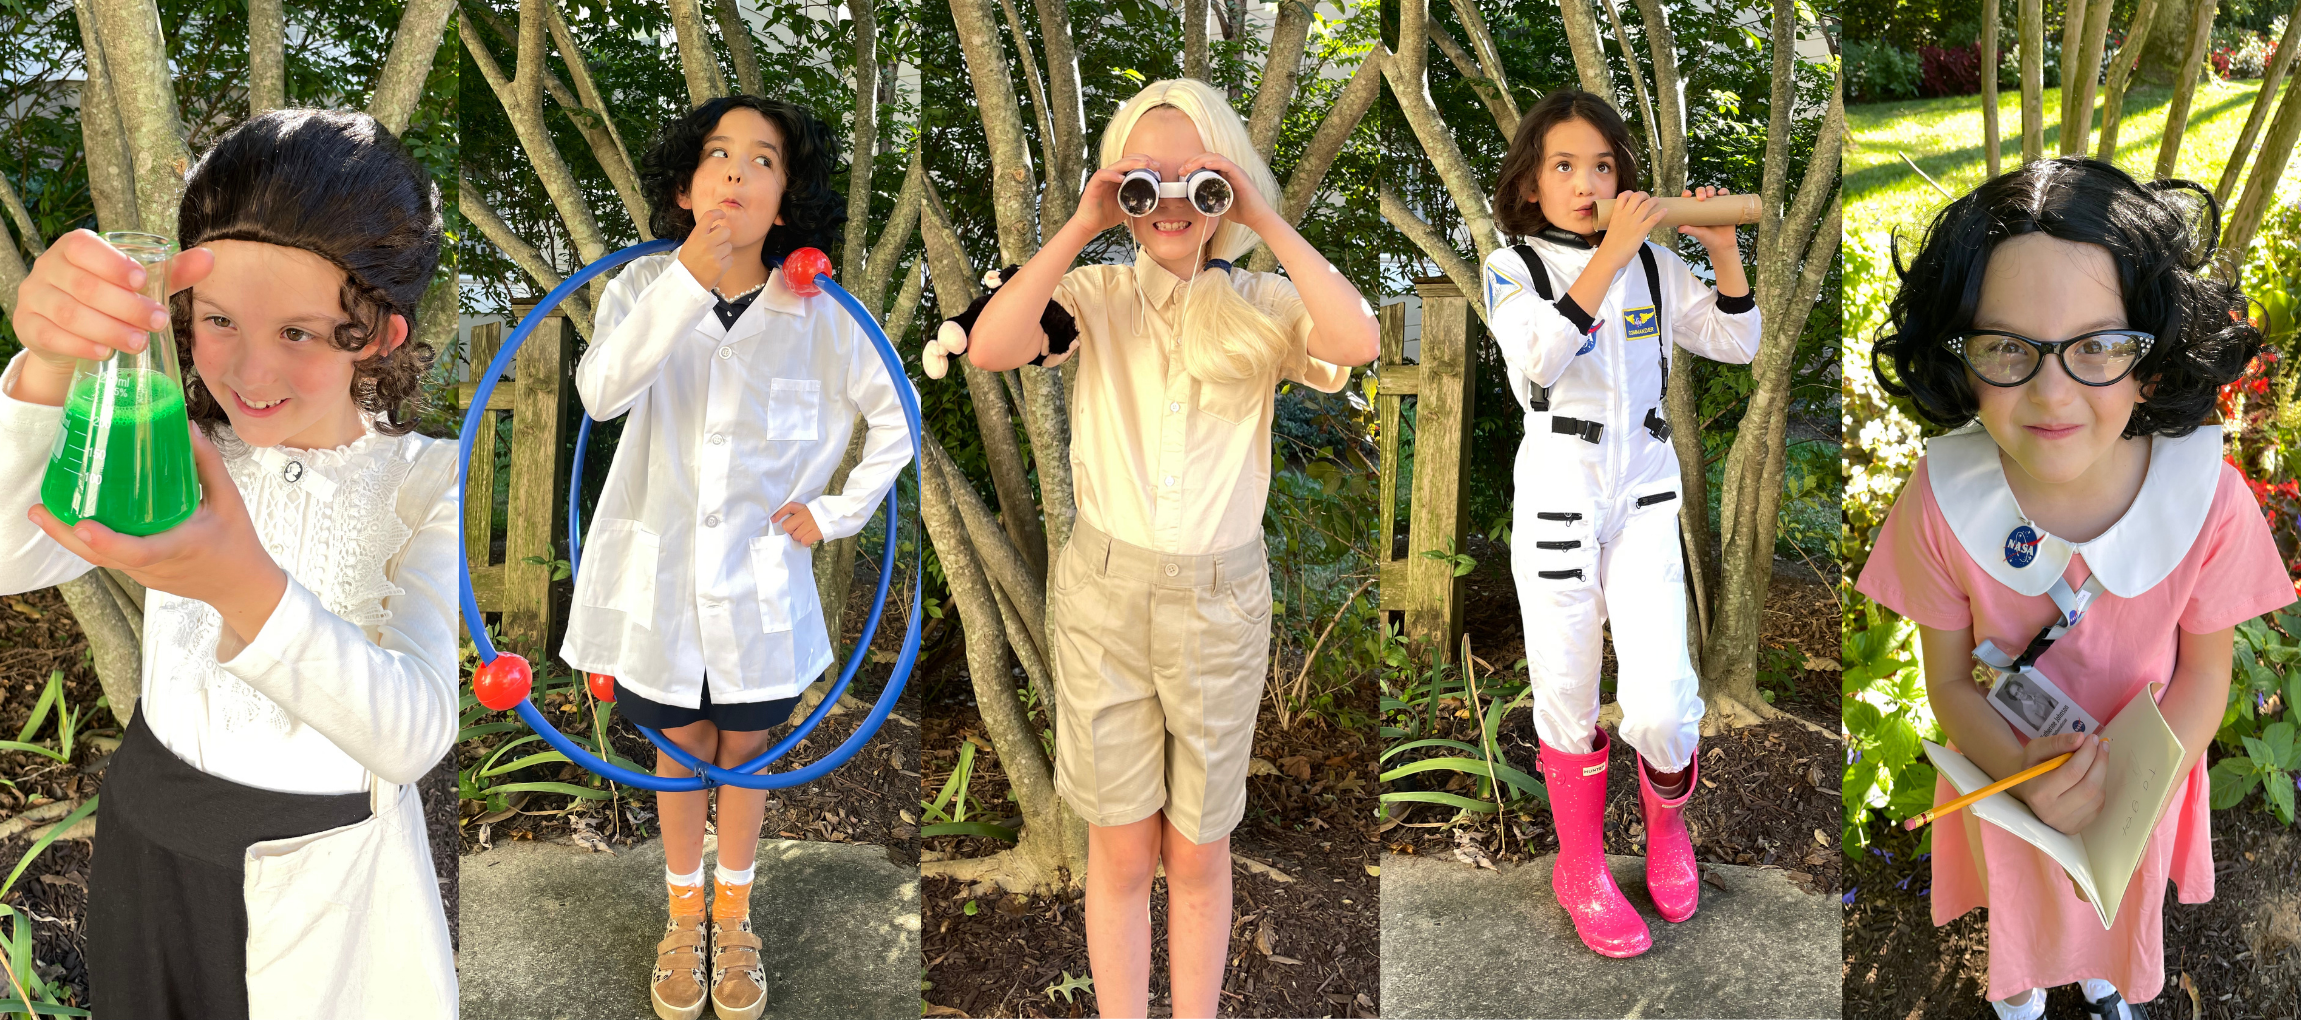
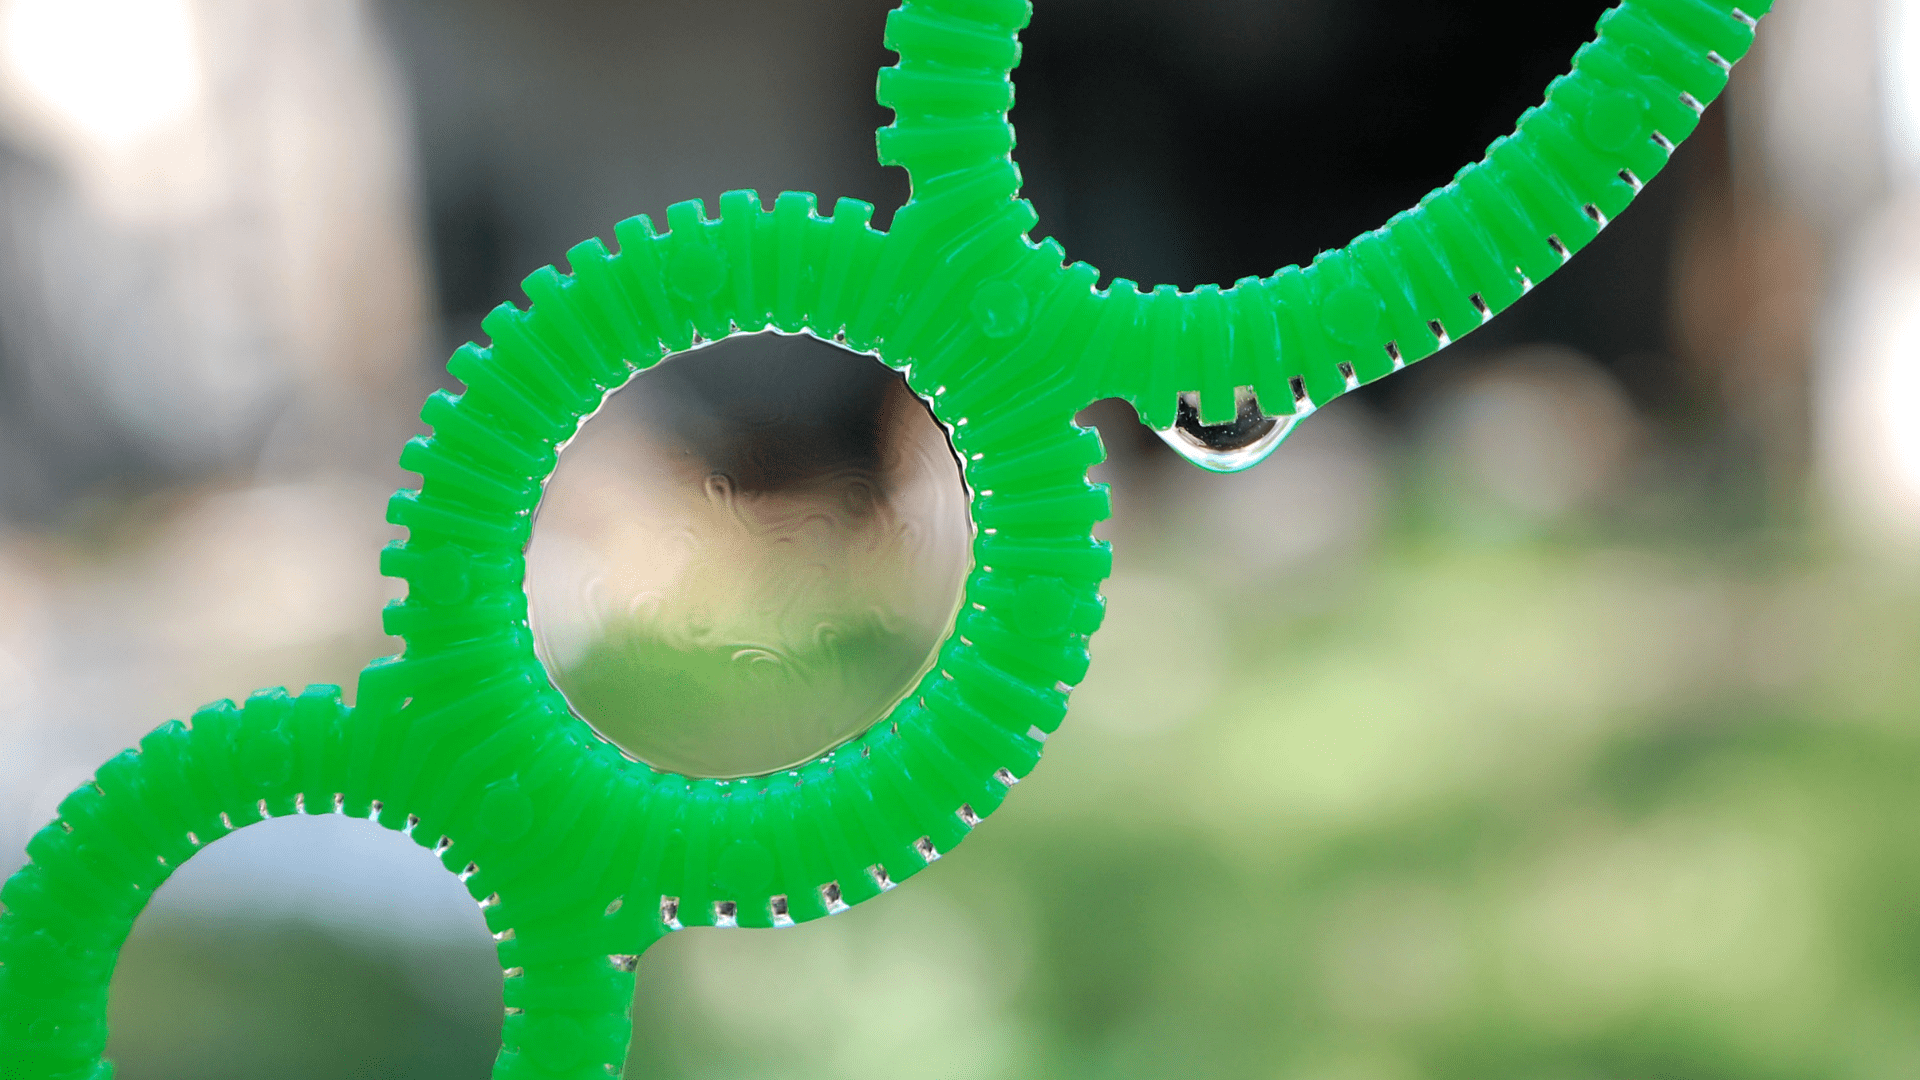
We love bubbles (who doesn’t?!) and have noticed that there are so many different kinds of bubble wands! Ones with small openings, multiple openings, square openings – you name it, they exist. We’re using the scientific method to test different materials, shapes, and sizes when we build our own bubble wands, all in an effort to make the biggest and longest-lasting bubbles possible!

Ready to make this project at home or in your classroom? Watch the video for an overview, gather the materials listed at the right, and follow the instructions below! To complete this project, you’ll also need our scientific method and data collection printable.

Required Materials

  • several bubble wands (for research)
  • paper circles
  • plastic milk rings
  • bracelet
  • pipe cleaners
  • popsicle sticks
  • foam
  • tin foil
  • bubble solution
  • plate
  • plastic bottle
  • sock

Step-By-Step Instructions

Step 1

Spend some time gathering materials that can be used to make a stellar bubble-wand prototype! The list of materials at the right is simply a suggestion based on what Grace and Veronica used in the video. Be creative – there are no limits to what you can try! 

Step 2

This project is designed to follow the scientific method, so start by posing a testable question: how do you make a great bubble wand? Be sure to fill it in on the scientific method printable!

Step 3

Make observations and do some research! Examine a selection of pre-made bubble wands and note the elements that are essential to their design as well as the ways they differ.

Step 4

With your research and observations in mind, hypothesize about what a bubble wand must have in order to make bubbles! Keep filling your answers in on the scientific method printable.

Step 5

List the materials you’re going to test as you build your bubble wand. Remember, be creative – the materials at the right are just a suggestion!

Step 6

Start building with your materials! Make sure you incorporate the elements of a successful bubble wand that you outlined in your hypothesis.

Step 7

Once you’ve built several bubble wand prototypes, enter each one into the data collection portion of the printable so you can make notes as you test them. Then experiment by testing them all using bubble solution!

Step 8

Compare your data. Which wands worked best? Were there any similarities between them (i.e., they used similar materials, had similar shapes, etc.)? Make your conclusions!

Step 9

Bonus – make the ultimate bubble blower! Cut the bottom off of a plastic bottle and cover it with an old sock. Make the sock as flat as possible where it covers the bottle. Dip the sock covered portion of the bottle into a plate filled with bubble solution or a mixture of water and a few drops of dish soap. Lift the blower slightly as you begin to blow out (not in!) to make an enormous  bubble snake!